Are you ready to turn your living area into a low-cost photo studio that will impress even the pros? Buckle up because we’re about to embark on an adventure that will have you taking great photos without emptying your wallet.
Step 1: Selecting the Perfect Space
Alright, Let’s kick things off by finding the ideal spot for your home photo studio. This doesn’t have to be a massive area, just a spot that works well for your needs.
Think about natural light. A well-lit room, even one with natural light, can save you a lot of money on lights. Look for a location with large windows that let in lots of light.
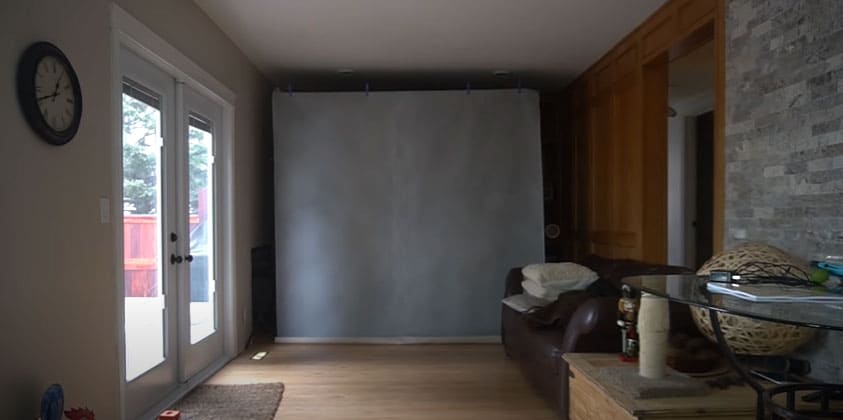
Thanks to this beautiful gift from Mother Nature, your images will have a lovely, soft look that is difficult to duplicate with artificial lighting. Control, though, is the secret ingredient. Curtains or sheer fabrics can act as excellent light diffusers, ensuring the light is right.
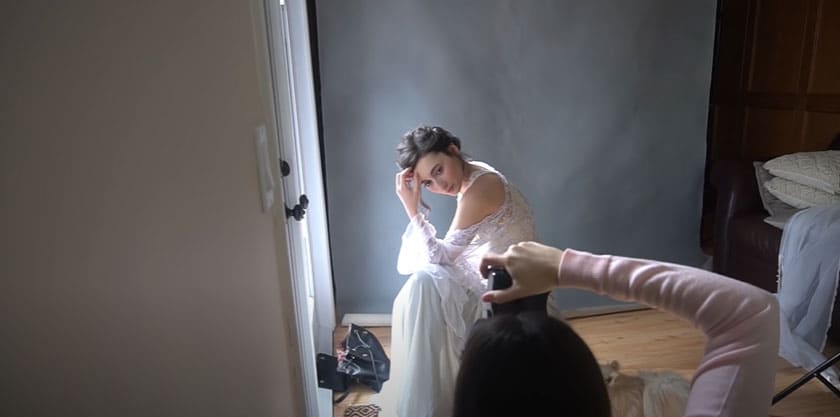
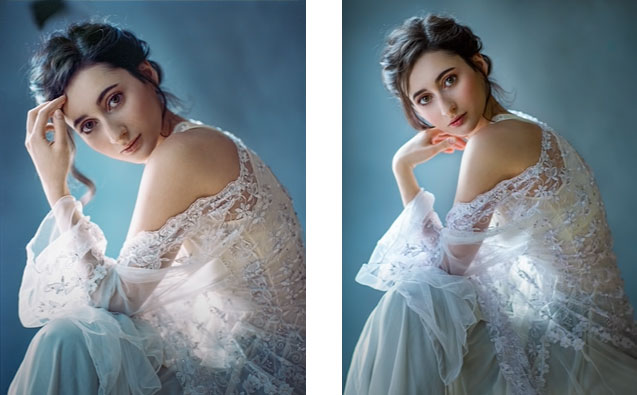
Try out several times of the day to observe how the sun moves across your area. Notably, the light in the early morning and late afternoon can provide stunning, dynamic images.
Step 2: Budget Backdrops
Now, then, let’s talk about backdrops. You don’t need to break the bank on professional photo studio-grade setups. Instead, you can go full DIY and take a vibrantly colored bedsheet or buy a canvas sheet and dye it with a color of your choice.
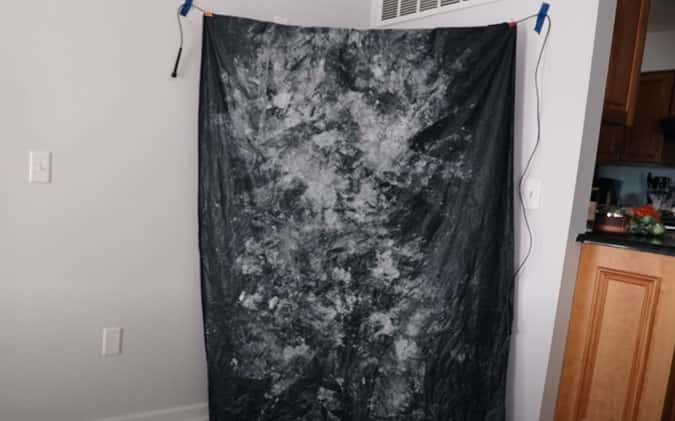
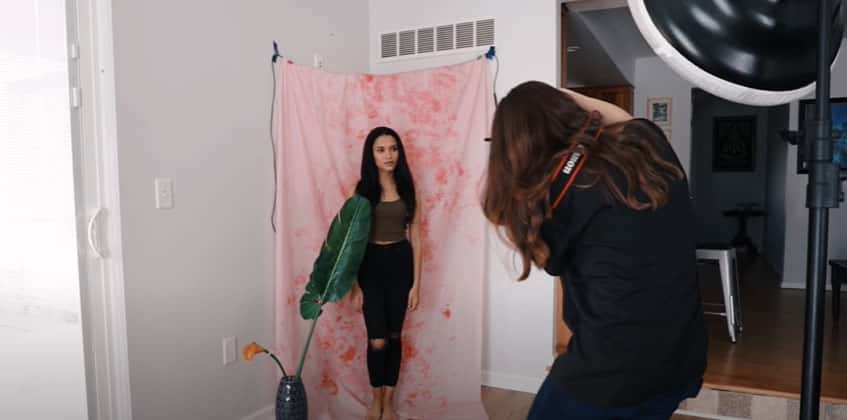
Let your ingenuity and thriftiness shine through.
On thriftiness, thrift stores can be a goldmine for unique backdrop options that won’t break the bank. Look for textured fabrics or exciting patterns that add character to your shots

For those of you who are more on the artistic side, let your imagination run wild. Grab some paints and brushes and fully unleash your creativity. Make a backdrop that shares a story or sets a mood in your own unique way.
Step 3: Lighting
Alright, let’s dive into the world of lighting. We want your home studio to shine without burning a hole in your wallet!
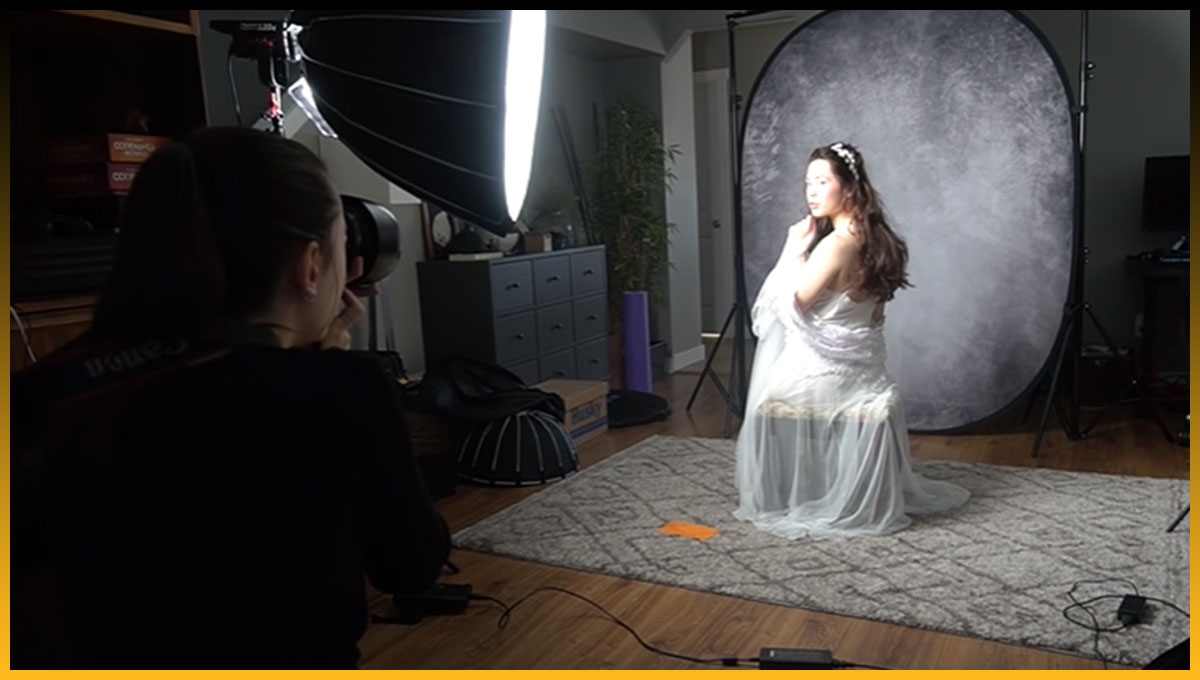
You don’t need to invest in pricey professional lighting equipment. Natural light can be your best friend. Position your setup near a big window or use sheer curtains to diffuse sunlight. This creates a soft, flattering light for your shots.
Consider affordable options like clamp lights or softbox kits if you need more control. These can be found at most hardware stores or online marketplaces. They’re versatile, easy to use, and won’t cost you an arm and a leg.
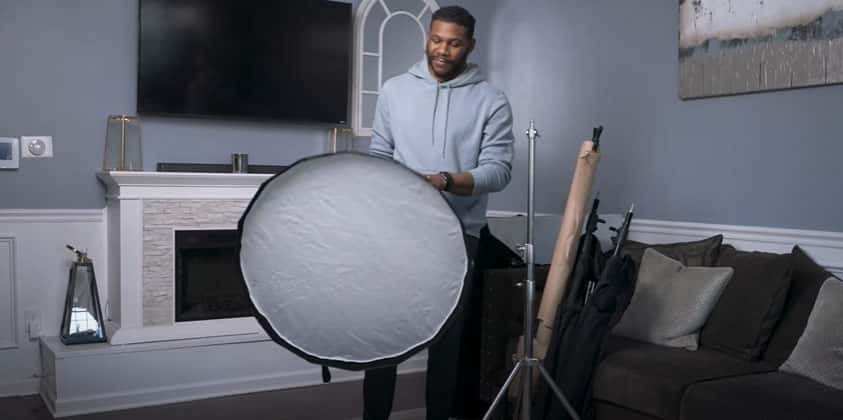
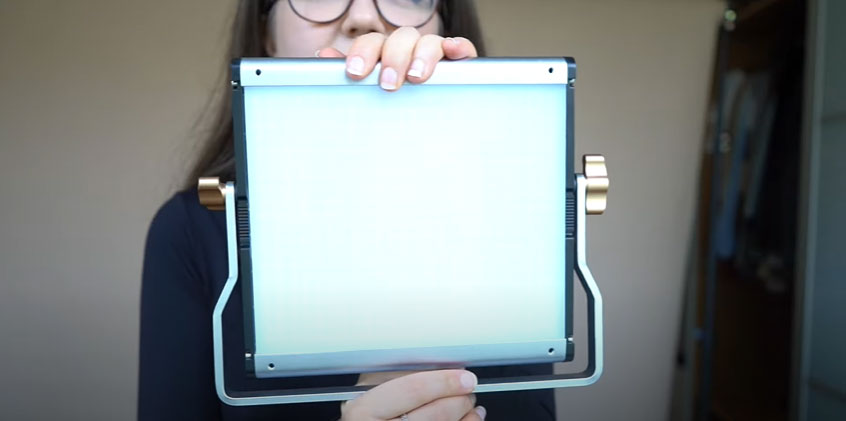
Have some fun experimenting! Try out different angles and distances to see what kind of magical interplay of light and shadow you like best.
Step 4: Finding Your Ideal Camera
Let’s get started building a wonderful home photo studio. Our goal is to provide a functional and reasonably priced professional home picture setup.
It’s simple to get overwhelmed by the abundance of DSLR cameras available on the market. To take beautiful pictures, though, you don’t need to have the newest, most expensive model. It may surprise you to learn that certain reasonably priced old cameras can meet your needs for high-quality photography studio equipment without breaking the bank.
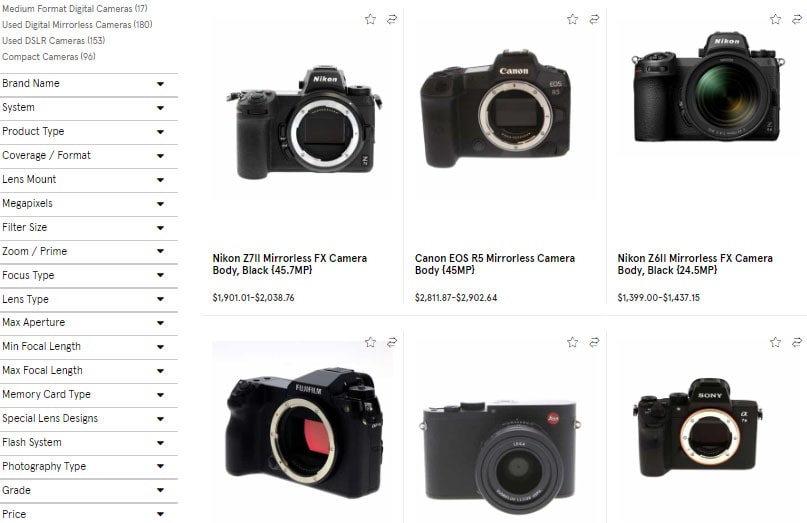
For your photography studio setup, think about looking through thrift stores for some amazing finds. There are a ton of trustworthy, previously owned cameras available for a small fraction of the original price on photography websites, online marketplaces, and neighborhood camera stores. Just be sure the used camera has all the functionality you need for your projects and is in excellent condition.
If you have a desire for brand-new gear, keep an eye out for sales, rebates, or even photography studio setups that come in bundles. Often, these deals include essential camera accessories and studio equipment, providing comprehensive starter kits at a significantly reduced price.
Remember, the key to a successful home photo studio is not the cost of the equipment, but rather the ability to make the most of the resources you have. Choose a camera that aligns with your home photography needs and budget, then confidently advance to the next stage of building your photography business or home studio.
Step 5: Essential Accessories
Now that you’ve set up the foundation of your home photography studio, it’s time to consider the essential accessories that will enhance your photography experience and still be on the cheaper side. These accessories will help you achieve professional-looking results without a hefty investment.
Get a Tripod
Let’s talk about the unsung hero of photography — the tripod. This piece of equipment is your steadfast partner in capturing steady, shake-free shots. Look for one with sturdy, adjustable legs and a reliable head.
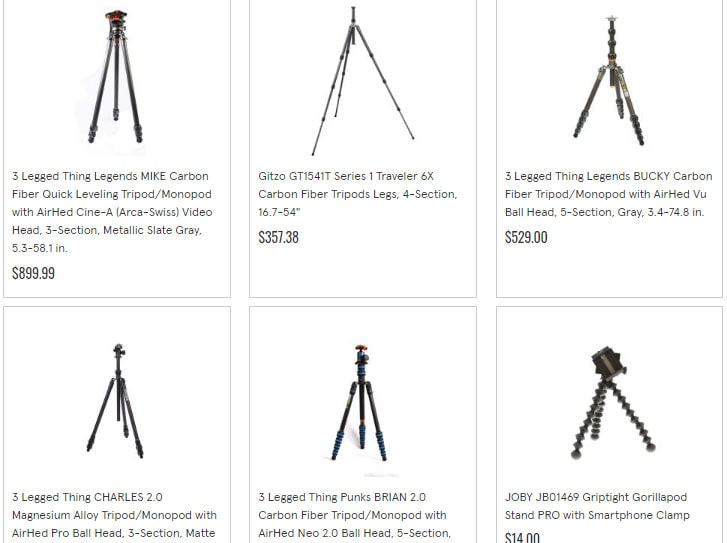
It’s worth investing a bit more here, as a quality tripod will serve you well in various lighting conditions and shooting scenarios. Make sure to take advantage of this essential tool, as it’s the foundation for sharp, professional-looking photos.
Remote Shutter Release
Imagine you’ve set up the perfect shot, but when you click the shutter button, there’s a small wobble. Isn’t it frustrating? Here comes the remote shutter release.
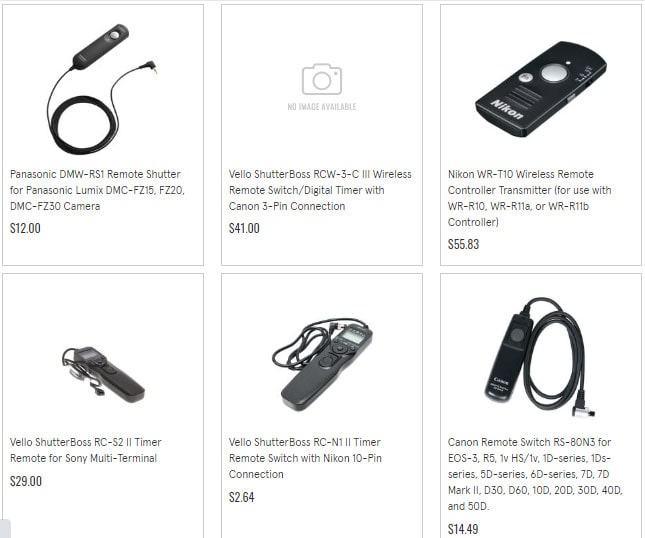
Whether wired or wireless, this small device allows you to record moments with precision and no camera wobble. It’s a little price to pay for noticeably crisper and more professional-looking images. Don’t pass over this hidden gem. It’s a secret weapon for photographers trying to up their game.
Storage and Organization
Now, then, let’s talk about keeping your gear and accessories organized and everything. We wouldn’t want to scramble through all of your gear just to look for that one lens, right? Proper storage is key to a smooth-running studio.
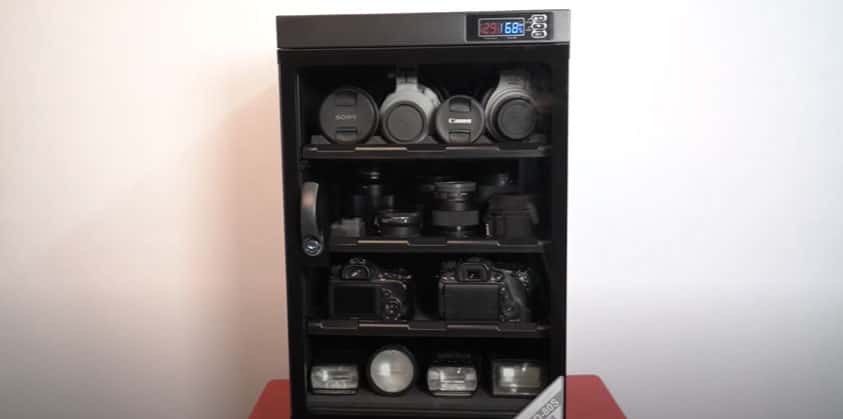
Invest in sturdy shelves, transparent boxes, and a dependable camera case. This guarantees that everything has a place, eliminating clutter and protecting your costly equipment.
A well-organized studio not only appears more professional but also allows you to work more efficiently. Splurge a little on storage solutions. It’ll ensure the safety of your equipment alongside its longevity.
Step 6: Editing
Let’s begin the process of editing as we complete the setup of your low-cost home photo studio. Make sure you have the appropriate editing software available before anything else. There are plenty of excellent solutions available that are affordable. Look for one that complements your style and feels natural.
Now, let’s delve into the finer details, shall we?
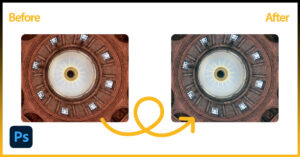
Start by mastering the basics: exposure, contrast, and color balance. These are your go-to tools for fine-tuning your images. Keep it subtle, though, especially when it comes to retouching.

Always remember to save your edits in a high-quality format and also keep online backups. We wouldn’t want to lose all that hard work now, would we?
Closing Thoughts
There you have it, then! Your affordable home studio is set up and prepared to go. Remember that the quality of your photos is more important than having expensive equipment or a large photography studio. So, settle in and begin documenting those moments. Yours alone, this area is a blank canvas for your imagination. Happy snapping

